MIL-DTL-3965H
TABLE V. Qualification inspection - Continued.
1/ A sample unit having one or more defects shall be considered as a single failure.
2/ One additional sample unit is included in each sample of 39 units to permit substitution for the failure allowed in
group I.
3/ Marking defects are based on visual examination only and shall be charged only for illegible, incomplete, or
incorrect marking.
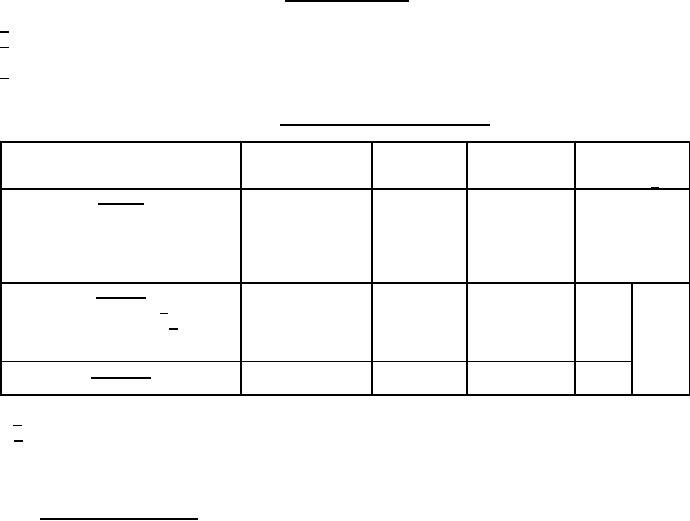
TABLE VI. Qualification inspection of brackets.
Requirement
Method
Number of
Number of
paragraph
paragraph
sample units to
Examination or test
defectives
allowed 1/
be inspected
Group I
4.7.1
3.1, 3.3, 3.5,
Visual and mechanical
3.5.3
examination
0
2
3.25.2, 3.25.3,
Material, design, construction,
3.26 and 3.26.2
marking and workmanship
Group II
Shock (specified pulse) 2/
4.7.8
3.12
1
Vibration, high frequency 2/
4.7.9
3.13
8
Thermal shock
4.7.10
3.14
1
Salt atmosphere
4.7.11
3.15
Group III
1
3.19
4.7.15
8
Moisture resistance
1/ A sample unit having one or more defects shall be considered as a single defective.
2/ During shock and vibration tests, one set of each bracket type shall support a capacitor of the same case size
with which it is normally used (see 3.1).
4.5 Verification of qualification. The manufacturer shall provide verification to the qualifying activity. Continuation
of qualification shall be based on meeting the following requirements:
a. The capacitor design has not been modified.
b. Lot rejection for group A inspection does not exceed 10 percent or one lot, whichever is greater.
c. Periodic group C inspection.
d. Failure rate levels.
14
For Parts Inquires submit RFQ to Parts Hangar, Inc.
© Copyright 2015 Integrated Publishing, Inc.
A Service Disabled Veteran Owned Small Business